
Why homemade matcha beats cafe versions
Making DIY matcha lattes at home shifts the balance of power back to you, offering two immediate advantages that coffee shops simply cannot match: cost efficiency and total quality control. When you visit a cafe, you are paying for overhead, labor, and often lower-grade ingredients. At home, you pay only for the powder, water, and milk.
The financial difference is stark. A standard matcha latte at a local cafe typically runs between $5 and $7. By making your own, that same cup costs roughly $0.75 to produce. Over a month, this adds up to significant savings, allowing you to invest in higher-grade ceremonial matcha without breaking the bank.
Stat: Cost comparison: $5 per cafe latte vs. $0.75 per homemade cup.
Quality control is the second major benefit. Cafe versions often use sweetened matcha blends or pre-made syrups to mask bitter or oxidized powder. When you brew your own DIY matcha lattes, you choose the exact powder grade and milk type. You control the water temperature—keeping it below 175°F to prevent bitterness—and the whisking technique to achieve that signature frothy texture. This ensures every sip is vibrant and authentic, not diluted by filler ingredients.
Choosing ceremonial grade matcha powder
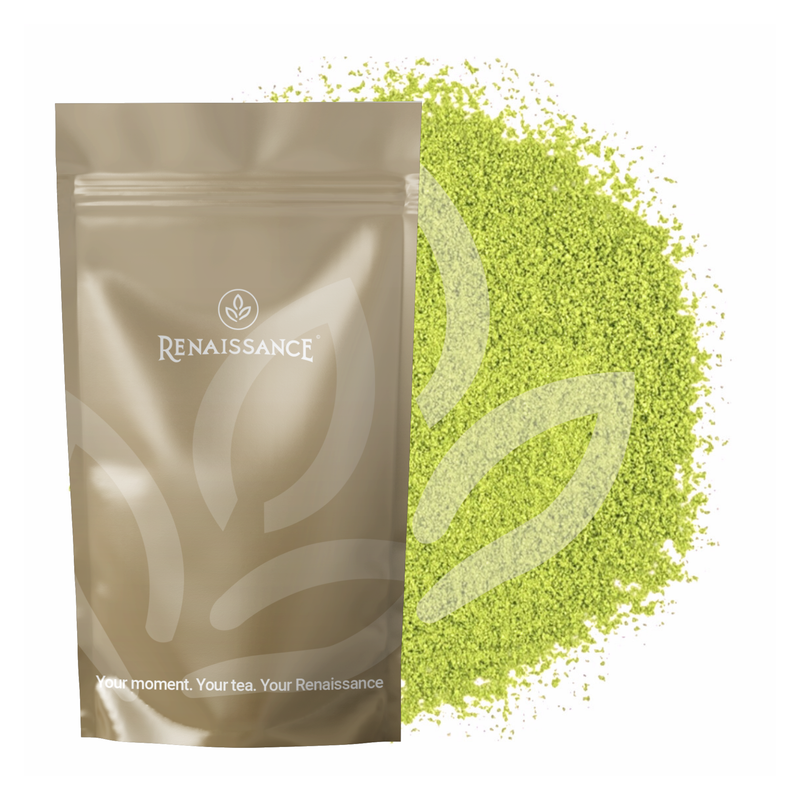
The difference between a bitter, chalky drink and a creamy, vibrant DIY Matcha Latte starts with the powder. Most grocery store aisles stock culinary grade matcha, which is designed for baking or smoothies where milk and sugar mask its grassy, astringent notes. For a latte that tastes like tea rather than a vegetable supplement, you need ceremonial grade matcha. This powder is stone-ground from the youngest tea leaves, resulting in a finer texture and a sweeter, umami-rich flavor profile that stands up to steamed milk without overwhelming it.
When shopping, look for a bright, neon-green color. A dull, yellowish, or brownish powder indicates age or oxidation, which will make your latte taste stale. The bag should be opaque and airtight; light and air are the enemies of fresh matcha. Once opened, store it in the refrigerator or freezer to preserve its delicate compounds. If you see a "best by" date that is more than six months old, it is likely past its prime for drinking.
To help you decide which tin belongs in your cart, here is how the two main grades compare side-by-side.
| Grade | Color | Taste Profile | Best Use Case | Price |
|---|---|---|---|---|
| Ceremonial | Vibrant neon green | Sweet, creamy, umami | Drinking plain or with milk | Higher ($20-$40+) |
| Culinary | Dull yellow-green | Bitter, astringent, grassy | Baking, smoothies, lattes with heavy sweeteners | Lower ($10-$20) |
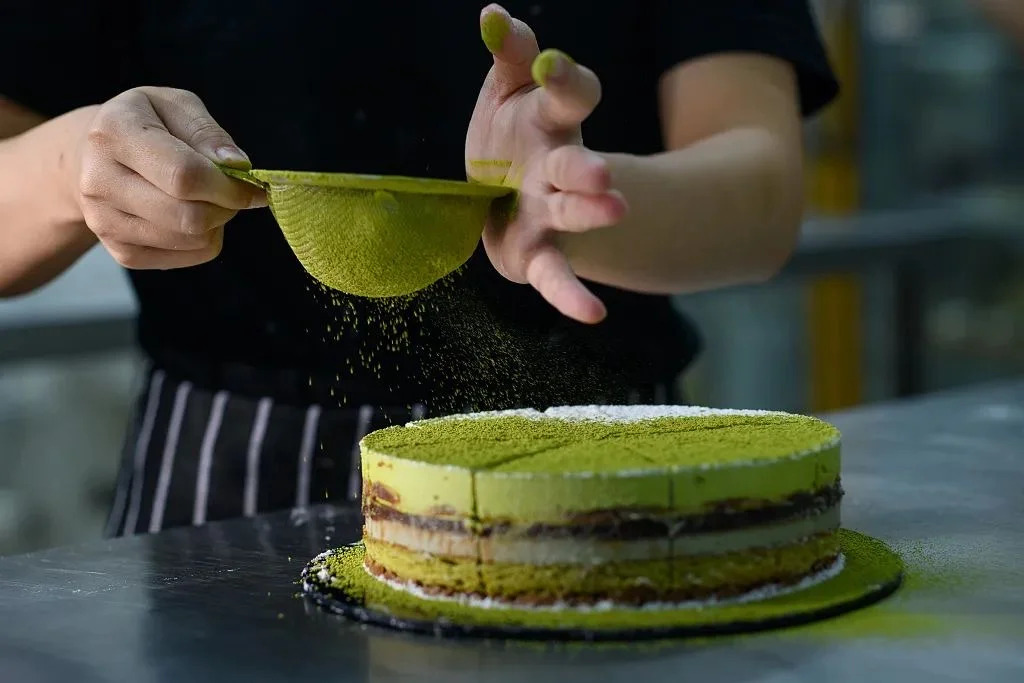
The correct way to whisk matcha
Getting the texture right is the difference between a gritty, bitter drink and a smooth, creamy latte. The secret isn't just in the whisk itself, but in how you handle the temperature and the motion. When you whisk DIY matcha lattes correctly, you break up the clumps of powder and incorporate air to create a velvety foam that sits beautifully on top of your milk.
If you find your matcha still has small clumps, try whisking for a few seconds longer or ensure your sieve is fine enough. The goal is a uniform, emulsified liquid that feels silky on the tongue. With this technique, your DIY matcha lattes will taste as good as those from a professional cafe.
Best milk options for creamy texture
Choosing the right milk is the final piece of the puzzle for a great DIY matcha latte. The right choice should complement, not overpower, the earthy, vegetal notes of the tea. While dairy remains the gold standard for traditional creaminess, several plant-based alternatives create equally delicious results.
Cow’s milk is the classic choice. Its natural lactose balances matcha’s slight bitterness, and the fat content provides a rich mouthfeel. Whole milk yields the smoothest texture, while skim milk can sometimes make the matcha taste sharper or more astringent. If you prefer a lighter option, 2% milk strikes a good balance between creaminess and refreshment.
For plant-based options, oat milk is widely considered the best substitute. Its natural sweetness and thick, creamy consistency mimic dairy milk almost perfectly. Almond milk is another popular choice, though it has a thinner consistency and a distinct nutty flavor that can clash with some matcha varieties. Coconut milk adds a tropical twist and rich texture, but its strong flavor profile may dominate the delicate tea taste.
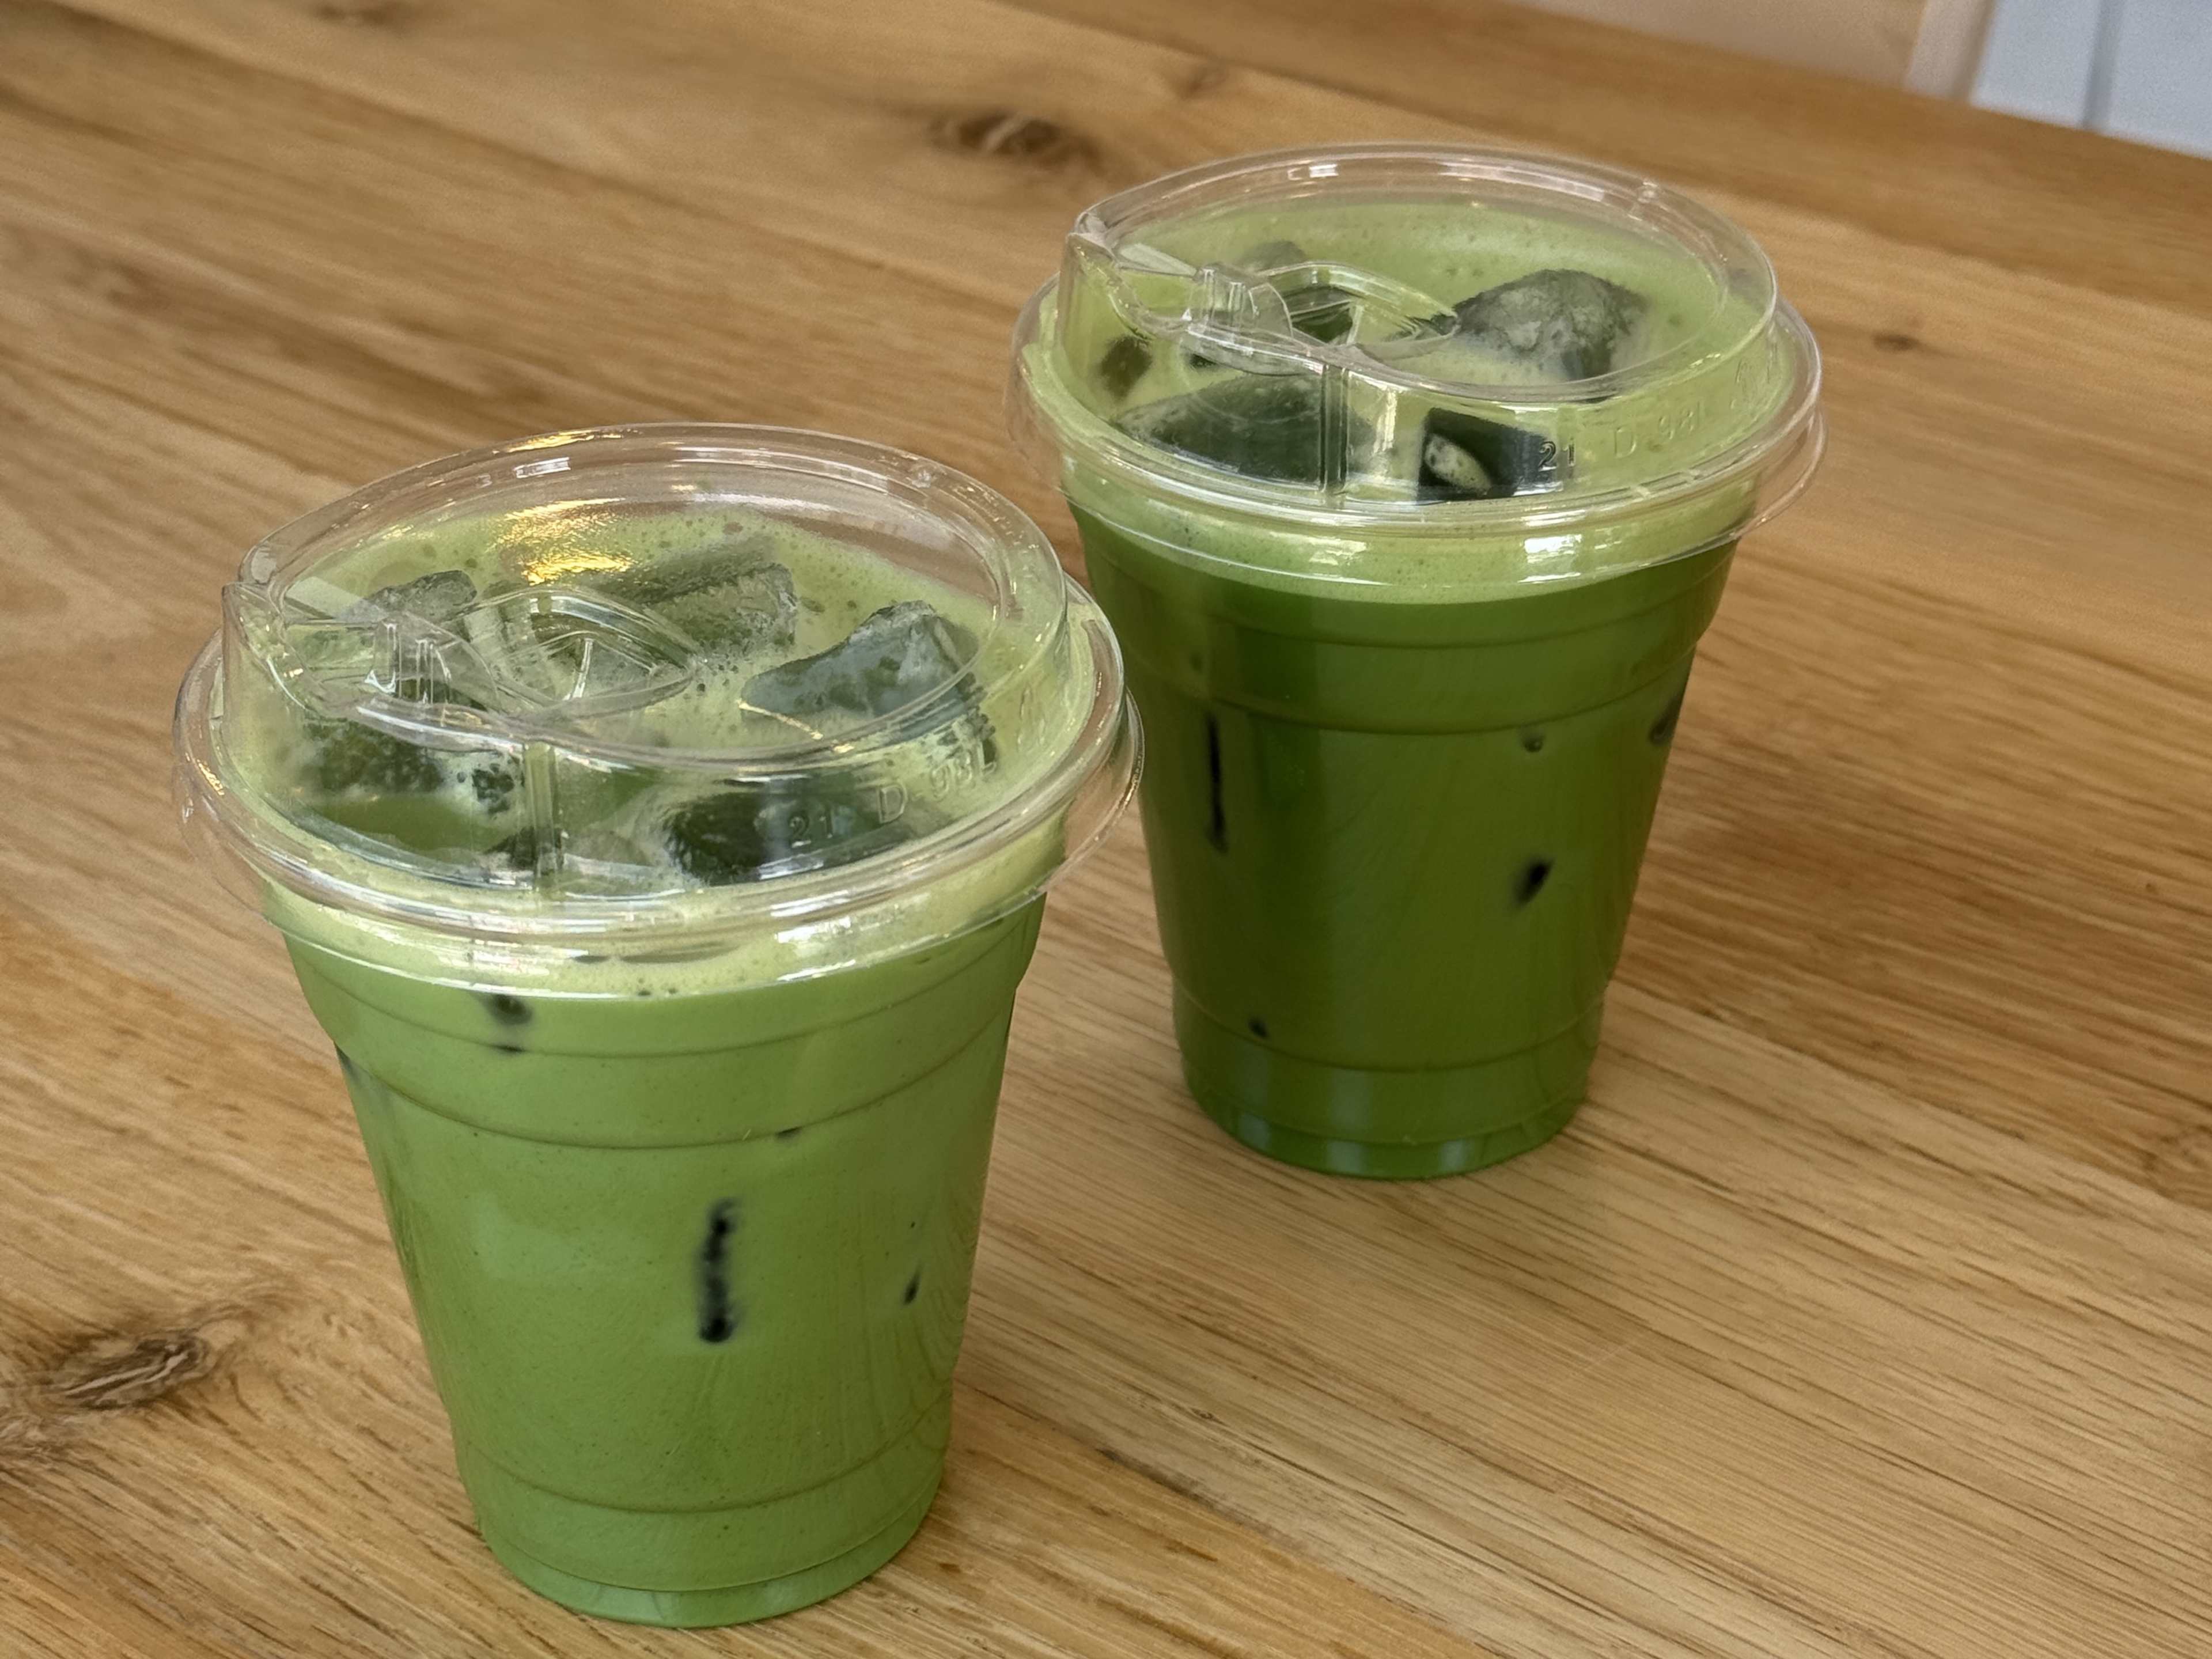
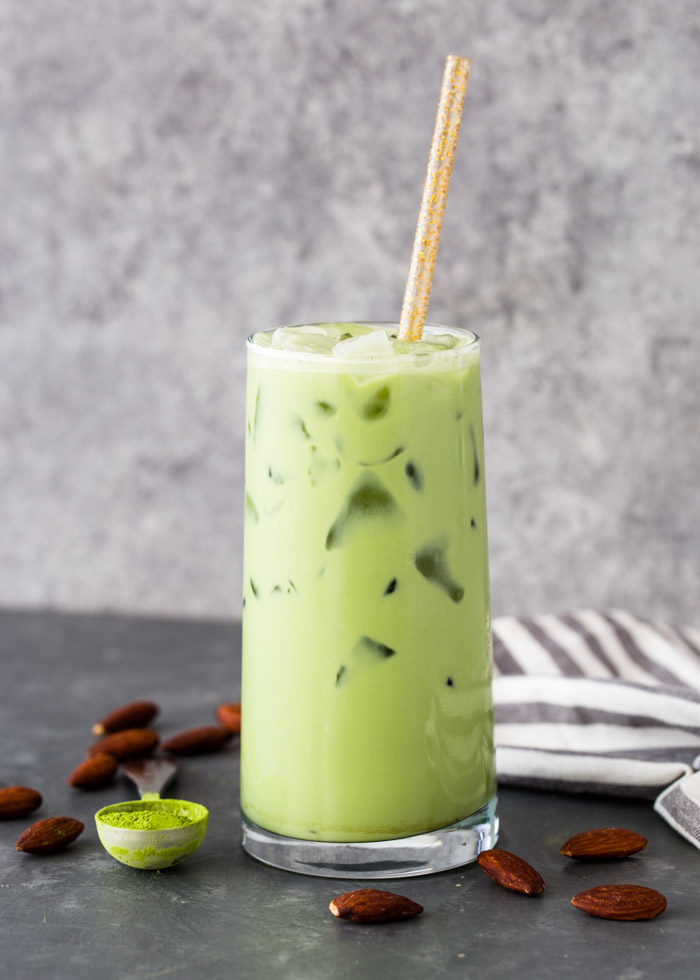
How to make iced matcha lattes
DIY Matcha Lattes works best as a clear sequence: define the constraint, compare the realistic options, test the tradeoff, and choose the path with the fewest hidden costs. That order keeps the advice usable instead of decorative. After each step, pause long enough to check whether the recommendation still fits the reader's actual situation. If it depends on perfect timing, unusual access, or a best-case budget, include a simpler fallback.
Common mistakes that make matcha bitter
Even with high-quality ceremonial grade powder, a DIY matcha latte can turn unpleasantly bitter or chalky if small details are overlooked. The most frequent culprit is water temperature. Using boiling water scorches the delicate tea leaves, releasing excessive tannins and destroying the sweet, umami notes that make matcha special. Always let your kettle cool for a few minutes after boiling, aiming for water around 175°F (80°C) before whisking.
Clumps are the second enemy of a smooth latte. If you dump powder into liquid without sifting, you’ll end up with gritty lumps that refuse to dissolve, no matter how hard you whisk. Sifting the matcha into your bowl before adding any liquid ensures a fine, consistent powder that integrates easily. This step is non-negotiable for that velvety texture you’re aiming for.
Finally, don’t skimp on the whisking technique. A lazy stir won’t break up clumps or create the desirable froth. Use a "W" or "M" motion with a bamboo whisk (chasen), keeping your wrist flexible and moving quickly. This agitation incorporates air, transforming the mixture into a creamy, unified drink rather than a separated, muddy liquid.
Save leftovers with matcha cookies
Keep that extra tin of matcha powder from going stale by baking it into cookies. The fine powder distributes evenly through dough, turning a simple batch of shortbread or sugar cookies into vibrant green treats.
This is a practical way to use excess powder from your DIY matcha latte habit. The buttery texture of cookies masks any bitterness, ensuring the grassy notes remain pleasant.
Mix two to three teaspoons of matcha into your dry ingredients before adding fats. This prevents clumps and ensures every bite has that characteristic earthy flavor.
DIY Matcha Latte Recipe
Use this simple recipe for a smooth, frothy DIY matcha latte. It relies on precise whisking and temperature control to avoid bitterness.
No comments yet. Be the first to share your thoughts!